| Aspect | Details |
| Care Conditions | – Water Tillandsia by soaking it in water for one hour once a week. |
| Propagation Method | – Propagate Tillandsia by separating offsets from the mother plant using clean scissors or a knife. |
| Environmental Factors | – Tillandsia can suffer from various types of rot due to factors such as low light, excessive or insufficient watering, excessive fertilization, and poor air circulation. |
| Pest | – Mealybugs are the most important pest that weakens and wilts Tillandsia by feeding on nutrients. |
Caring for Tillandsia: Hard or Easy?
Caring for Tillandsia is unlike many other plants, and this difference shouldn’t concern you about its maintenance; you just need to understand the sensitivities and needs of this plant to keep your Tillandsia fresh and vibrant.
readmore: 17 Rare and unique houseplants
Watering Tillandsia: Practical Methods
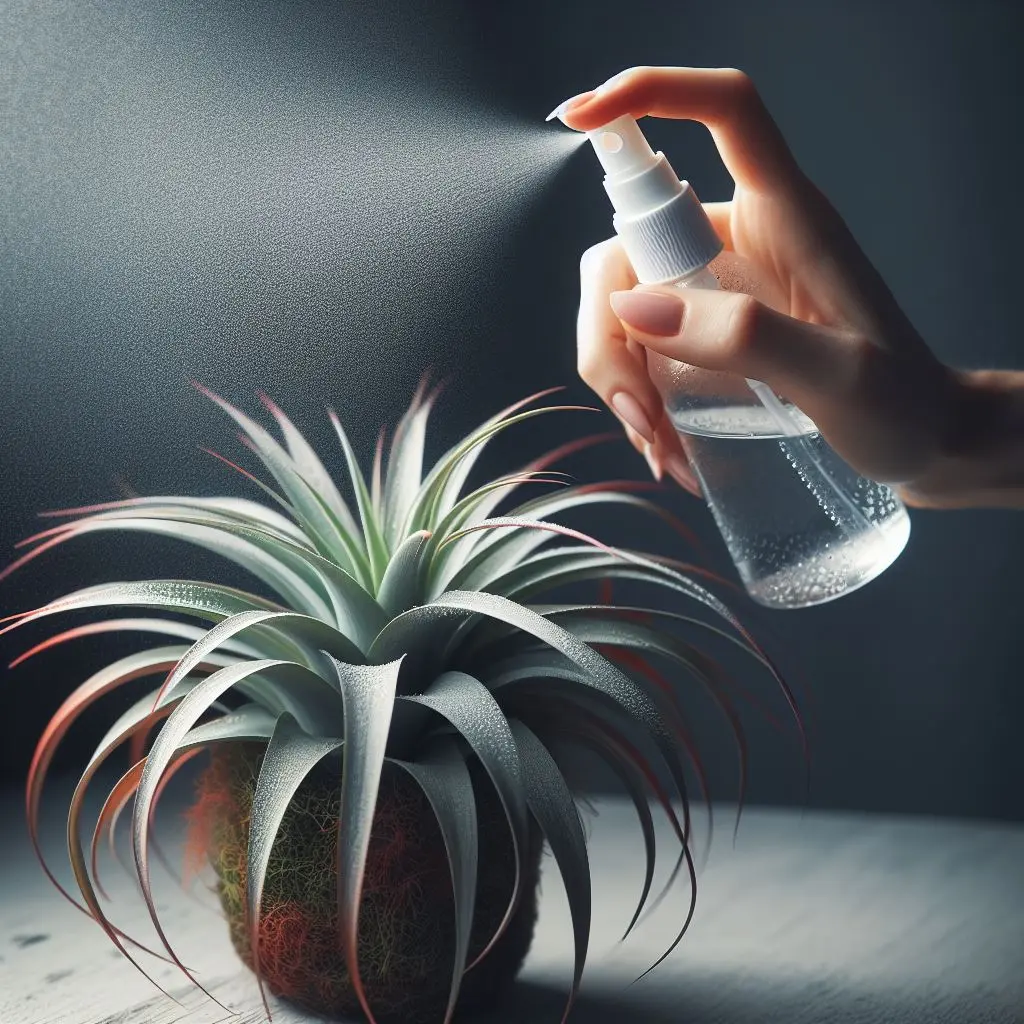
The idea of watering a plant like Tillandsia, which doesn’t require soil, might seem a bit challenging and vague, but watering this plant can be done using simple methods like spraying water on its leaves and soaking the plant in water. The water requirements of Tillandsia are determined by its species and the temperature of its environment, and a fixed amount cannot be considered for watering this plant.
The Relationship Between Heat and Plant Watering is a Direct One. The warmer it is, the greater the plant’s need for watering.
Soaking Tillandsia in Water
If the location where you keep your Tillandsia isn’t particularly warm and dry, it’s sufficient to soak the plant in water once a week, and in hot and dry areas, this action should be increased to twice a week.
After soaking Tillandsia in water for an hour, to prevent rotting, make sure to expose it to sunlight for 3 to 4 hours to remove excess water from the plant. When submerging the plant in water, make sure delicate flowers of this plant do not come into contact with water as they are severely damaged.
The water used for soaking the plant should meet the following conditions:
If you’re going to use tap water, it’s better to leave it in a place for 24 hours so that its chlorine evaporates into the air.
The water should be lukewarm.
You can also use boiled and cooled water.
How much should I spray water on Tillandsia?
Spraying Tillandsia in the summer should be done once or twice a week, and in winter, it should be done once every two or three weeks.
Does Tillandsia like humidity?
Tillandsia plants come from regions like America and Mexico that have high humidity; therefore, you should provide a humidity level of around 65% for Tillandsia to thrive at home.
Plenty of light but indirect needed for Tillandsia air plants
The maintenance conditions for Tillandsia in terms of light are that it likes plenty of light but in an indirect manner. If you want your Tillandsia plant to get the required light, place it near windows facing north or south in your home.
Here’s how to care for wind plants, according to the gardenersworld website:
Watering is an essential aspect of air plant care. Since they do not grow in soil, they rely on air and rain for their water and nutrient needs. Therefore, air plants need regular misting to keep hydrated. In the bathroom, your air plants will probably get enough moisture just from the dust from a regular shower. But in rooms with less humidity, they should be watered. Propagation of tillandsia air plants
Ideal temperature for Tillandsia growth
If the location where Tillandsia is kept has a temperature between 10 to 32 degrees Celsius, you will see the best growth conditions for your plant. Be careful to keep the environment not too cold for Tillandsia air plants because they are sensitive to cold air and can get damaged.
Removing soil, the best option for maintenance
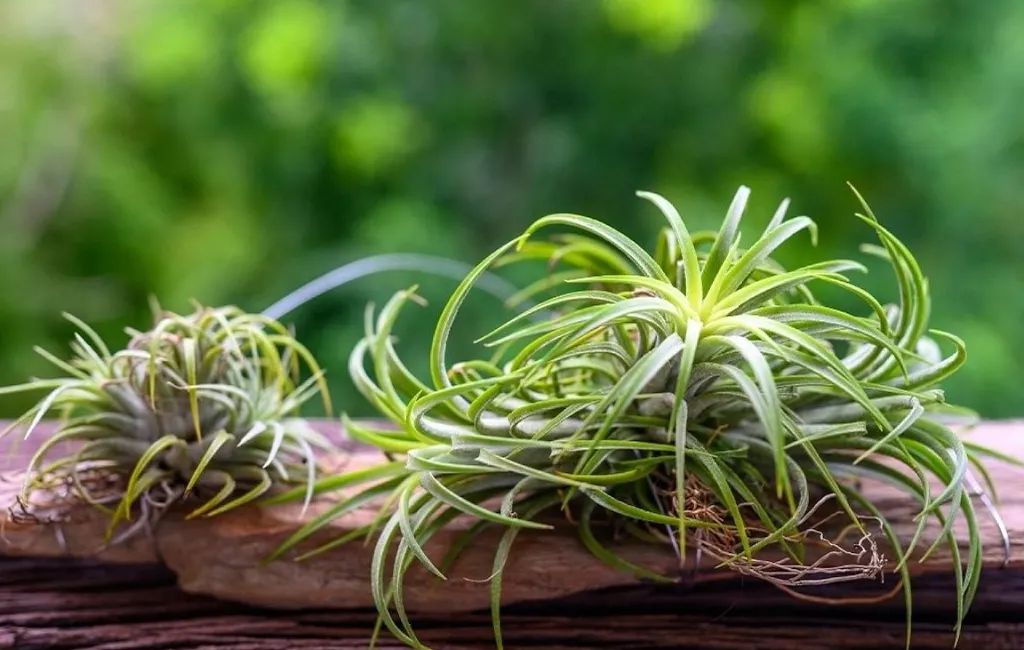
One of the wonders of caring for Tillandsia plants is that they don’t need soil and can easily grow on other plants. While some Tillandsia species like Sina can be grown in soil, if you want your Tillandsia plant to showcase all its beauty in your home, place it without soil on rocks, other plants, tree trunks, or any other item you prefer.
Starting fertilizing Tillandsia by observing these 3 signs:
It is true that fertilizing air plants like Tillandsia is not essential, but if you notice the following 3 signs in your plant, delaying fertilization may lead to its destruction:
- Weak and pale branches and leaves of the Tillandsia plant.
- Yellowing of the leaves and darkening of the veins from the leaves.
- Stopping and slowing down the growth process of the plant.
What is the most suitable fertilizer for strengthening and caring for Tillandsia air plants?
NPK fertilizers containing nitrogen, phosphorus, and potassium are considered suitable fertilizers for the growth of Tillandsia plants, provided that:
– They do not contain copper and zinc as these elements are toxic to air plants.
– They have a low amount of nitrogen and are not urea-based to prevent the plant from burning.
When is the best time to fertilize Tillandsia?
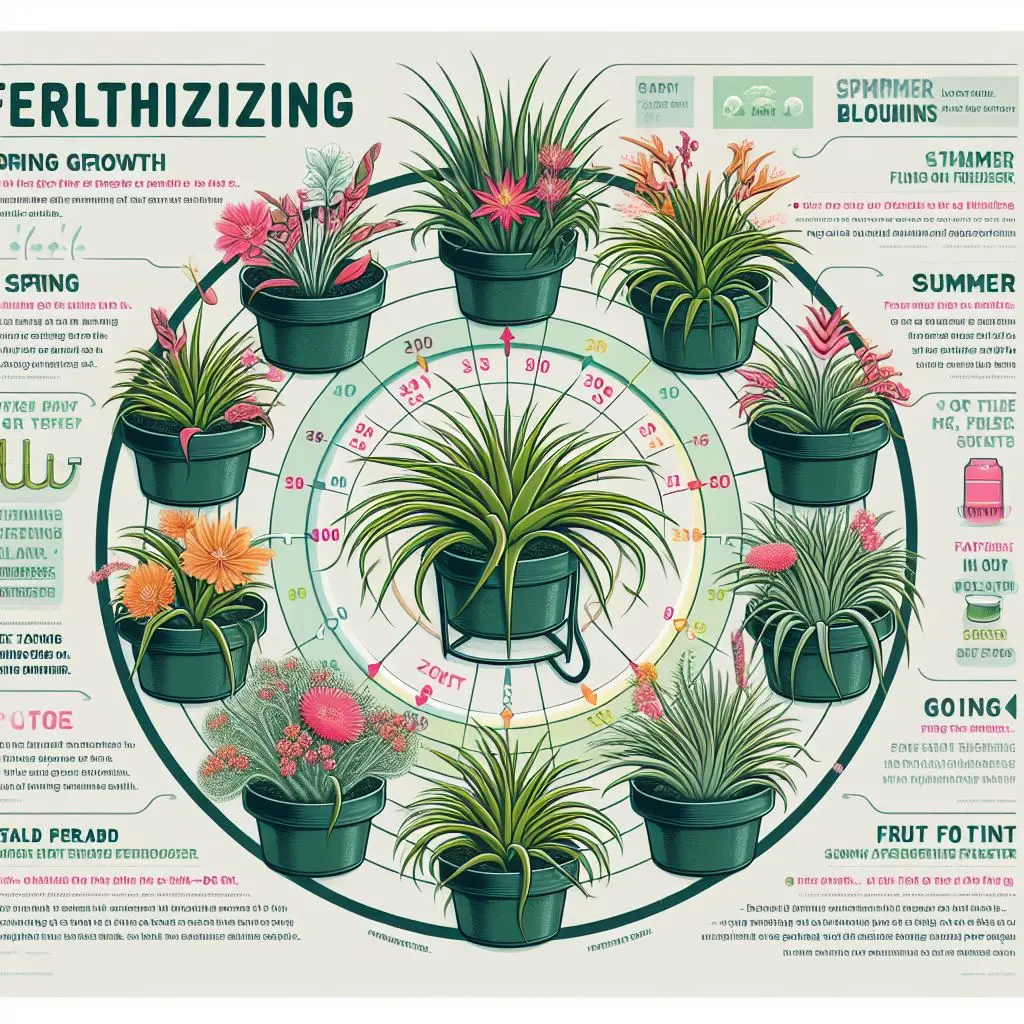
The suitable time for fertilizing Tillandsia plants is once a month during the growing seasons, which are spring and summer.
Flowering marks the end of Tillandsia’s life
In different species of Tillandsia plants, colorful and attractive flowers bloom in shades of purple, pink, magenta, and red, but it may take several years to see the flowering of this plant.
After flowering, the life of the mother plant comes to an end, and it gives its life to new shoots. Gradually, with the death of the mother plant, offsets will grow, and you will have new Tillandsia plants.
Each Tillandsia plant blooms only once in its lifetime, and the phenomenon you should prepare for after its flowering is the death of Tillandsia. Remember that the flowering time in Tillandsia is in the warm seasons, namely spring and summer.
Propagation of Tillandsia air plants
The best and most suitable method for propagating Tillandsia is by separating the offsets or pups produced by the mother plant. Once the size of the Tillandsia offset reaches about one-third of the size of the mother plant, it’s time to separate it from the mother plant using sanitized scissors or a knife. After separating the offset, place it in an environment with proper ventilation and sufficient light for it to grow and mature.
Some scientific sources also consider propagation of Tillandsia plants using seeds (as) possible. However, before attempting this method, keep in mind that propagating Tillandsia through seeds is so slow that you may forget when you did it.
Common Problems of Tillandsia Air Plants
Failure to provide Tillandsia’s environmental needs can expose the plant to various pests and diseases. If you want to know the symptoms of Tillandsia contamination with diseases and pests and how to control these problems, read the following section.
Identify the Most Common Diseases of Tillandsia Air Plants along with Their Causes
The most common problem and disease that Tillandsia plants face is rot. Rot occurs in most plants due to overwatering, but in Tillandsia, this is not the only cause of rot, and it has various other reasons that we will examine one by one below.
| Cause | Symptoms | Prevention and Control |
| Overwatering | Soft, easily detachable leaves | – Water as needed, considering ambient temperature. |
| – Avoid leaving the plant submerged in water for long periods. | ||
| Dry Rot due to Insufficient Watering | Brown, curled, soft leaves | – Ensure sufficient watering to prevent dry rot. |
| Low Light | Fading leaf colors, paleness, softness | – Place the plant in a location with 4 to 6 hours of indirect sunlight daily. |
| Excessive Fertilization | Burning, loss of leaves | – Fertilize the plant once a month during the growing seasons at the time of watering. |
| Poor Air Circulation | Excess moisture, rot | – Ensure proper airflow by creating holes in the container if it’s placed in one. |
Tillandsia Rot Disease due to Overwatering
When you observe symptoms of rot, such as soft and easily detachable leaves in Tillandsia plants, the first reason to investigate is whether you have overwatered your plant or not.
To control and prevent rot in Tillandsia plants caused by excessive watering, we recommend the following solutions:
– Water the plant as needed and according to the ambient temperature.
– Do not leave Tillandsia plants submerged in water for extended periods, and make sure to remove any excess water after soaking.
– If your Tillandsia is kept in a terrarium with natural mosses, ensure that the mosses are not moist to prevent excess moisture from transferring to your plant.
Dry Rot Disease in Tillandsia; Cause of Leaf Withering and Destruction
Dry rot, as the name suggests, occurs due to insufficient watering in Tillandsia plants. In dry rot, the leaves become brown, curled, and soft, and in severe cases, they may perish. Sufficient watering helps control and reduce dry rot in your plant.
Tillandsia Rot Disease due to Low Light with Symptoms of Fading Leaf Colors
Tillandsia plants naturally grow in tropical regions, so they require adequate light. If the Tillandsia does not receive enough light, it becomes susceptible to rot. Paleness, softness, and withering of leaves are the main symptoms of rot in Tillandsia due to low light. To ensure your plant receives enough light and doesn’t succumb (give up) to rot, place it in a location where it receives 4 to 6 hours of indirect sunlight daily.
Tillandsia Rot Disease due to Excessive Fertilization
While proper fertilization enhances the growth and flowering of Tillandsia plants, excessive fertilization beyond the plant’s needs not only hinders growth but also leads to burning and loss of leaves. To prevent rot caused by over-fertilization, adhere to the rule of fertilizing your plant once a month during the growing seasons at the time of watering.
Tillandsia Rot Disease due to Poor Air Circulation

The aerophytic nature of Tillandsia indicates that this plant requires proper air circulation. If you place it in a closed terrarium, don’t expect your plant to remain fresh and beautiful. Rot due to poor air circulation in Tillandsia occurs because, in conditions of weak airflow, the environmental humidity does not dissipate, leading to excess moisture and subsequent rot. To create suitable airflow for Tillandsia, one recommended method is to create several holes inside the container if it’s placed in one.
How concerning is the severity of pests attacking Tillandsia houseplants?
One of your advantages of having Tillandsia plants is that since they don’t require soil, they are less susceptible to pest attacks, and pests mostly target Tillandsia plants when they’re affected by rot.
Mealybugs; one of the most well-known pests of Tillandsia, with soft, white damage symptoms like cotton.
The most common and significant pest that damages Tillandsia plants is mealybugs. You can easily recognize the damage caused by this pest by observing a white cottony covering. Seeing this white cotton-like covering may give you the impression that your plant hasn’t suffered much damage, but this is a misconception. When a large number of mealybugs attack your plant, it becomes severely weakened, and its leaves start falling off.
Mealybugs infected with powdery mildew are more noticeable around the leaves and stems of the plant and weaken the plant by feeding on the nutrients in the leaves.
Natural and effective methods suggested for controlling powdery mildew mealybugs
The most natural method for controlling powdery mildew mealybugs is to use ladybugs. Ladybugs are natural enemies of powdery mildew mealybugs and can easily reduce their population. Removing leaves infected with mealybugs is another natural method for controlling this pest. If the severity of the attack and damage by powdery mildew mealybugs on Tillandsia is high, you should seek help from chemical methods and use pesticides according to the instructions of a plant doctor.
FAQ
Does Tillandsia purify the air?
Yes. The process of photosynthesis in Tillandsia is such that the stomata are closed during the day and open at night.
One of the important benefits of Tillandsia plants is that they can clean and purify the surrounding air by removing chemical substances and light pollutants.
Why do the leaves of Tillandsia become colorless?
Insufficient and dim light fades the colors of Tillandsia leaves, and if you don’t attend to this need of the plant in time, the plant will rot.
Why do the leaves of Tillandsia turn brown?
If the browning of Tillandsia leaves is at the level of scorching, the reason is receiving excessive light, but the browning of leaves without scorching can be due to insufficient watering of the plant.
What is the reason that a Tillandsia plant disappears without any sign of disease?
Sometimes rot in Tillandsia plants has no visible signs because this condition of rot occurs inside the plant; you don’t see any outward signs, and you feel that your plant has suddenly disappeared.
Can Tillandsia grow well under artificial light?
Yes, they can. If you don’t have access to sunlight for Tillandsia maintenance, you can expose this plant to artificial light or fluorescent lamps for 4 to 6 hours a day so that your plant can grow well.
what is Key tips on Tillandsia maintenance, propagation and pests?
When you look at Tillandsia, you see a beautiful plant that is made even more special by its lack of soil and roots. The care conditions for Tillandsia are slightly different from other plants and should be done according to its needs. For example, scientific sources recommend soaking Tillandsia in water for one hour once a week for watering.
The most suitable method for propagating Tillandsia is to separate the offsets from the mother plant using clean scissors or a knife. Tillandsia can suffer from various types of rot due to adverse environmental factors such as low light, excessive or insufficient watering, excessive fertilization, and poor air circulation. Mealybugs are the most important pest that weakens and wilts Tillandsia by feeding on nutrients.